Method
- In a large mixing bowl, combine the 1 cup warm buttermilk (about 100 F, warm but not hot to the touch) with the 2 1/4 tsp active dry yeast and 1 tbsp of the sugar. Let sit for 5 to 10 minutes until foamy on top - if no foam appears, the yeast is inactive and you should start over with a fresh packet.
- Whisk the remaining 2 tbsp sugar, the egg, and 2 tbsp of the melted butter into the foamy yeast mixture. Add the 1 1/2 tsp salt and 3 1/2 cups flour, mixing with a wooden spoon until a shaggy dough forms and no dry flour pockets remain.
- Turn the dough onto a lightly floured surface and knead for 6 to 8 minutes, adding only enough extra flour (a tablespoon at a time) to keep it from sticking to the counter. The dough is ready when it feels smooth, soft, and slightly springy - poke it gently and it should slowly spring back.
- Place the dough in a large bowl lightly greased with the 1 tbsp vegetable oil, turning once to coat the top. Cover with plastic wrap or a damp towel and let rise in a warm spot for 45 to 60 minutes, until doubled in size.
- Line a 9x13-inch baking pan with parchment paper, leaving overhang on the two long sides for easy lifting later. Punch down the dough gently to deflate it.
- Turn the dough out and divide it into 15 equal pieces (about 2 oz each) - a kitchen scale makes this easiest, but eyeballing even portions works fine too, just aim for consistent sizes so the rolls bake evenly.
- Shape each piece into a smooth ball by cupping it under your palm on the unfloured counter and rolling in small circles until the surface is taut and smooth, tucking any seams underneath.
- Arrange the balls in the prepared pan in a 3x5 grid, leaving a small gap between each - they will grow together as they rise and bake, which is what creates the classic pull-apart look.
- Cover the pan loosely with the damp towel and let the rolls rise a second time in a warm spot for 30 to 40 minutes, until puffy and touching each other. Meanwhile, preheat the oven to 375 F with a rack in the center.
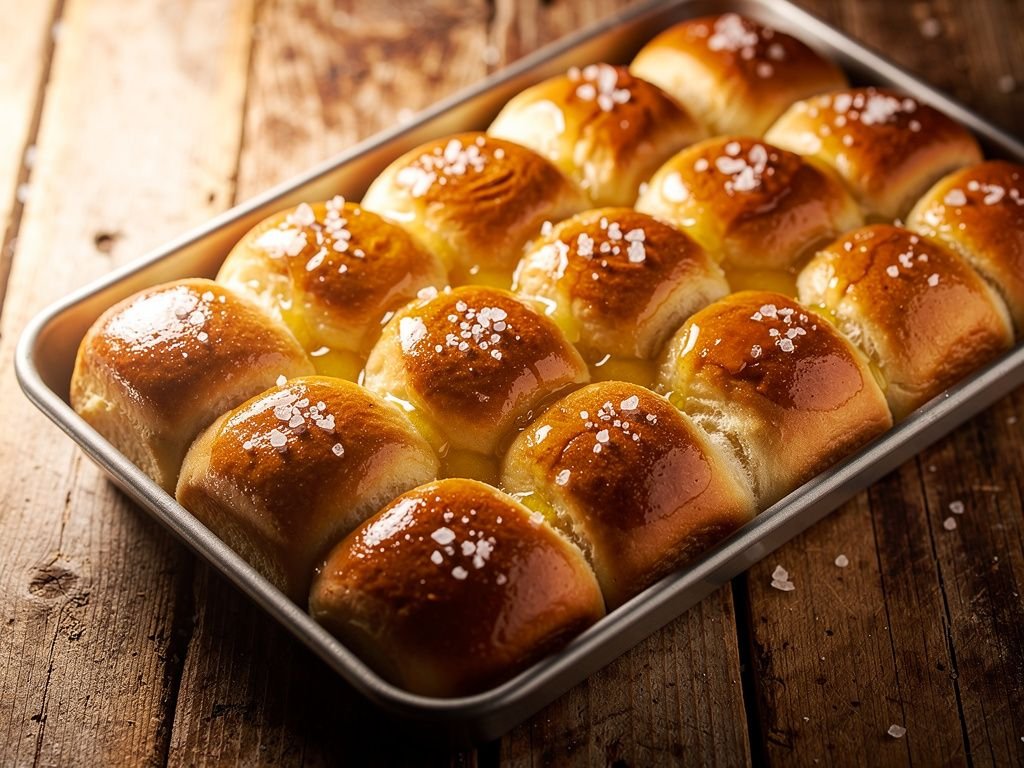
- Bake the rolls for 18 to 22 minutes, rotating the pan halfway through, until the tops are deep golden brown. They are done when a roll from the center, gently pulled apart, shows no wet or doughy streaks inside.
- As soon as the rolls come out of the oven, brush the tops with the remaining 2 tbsp melted butter and sprinkle with the flaky sea salt if using - the residual heat helps the butter soak in for extra flavor and shine.
- Let the rolls cool in the pan for 10 minutes, then lift them out using the parchment overhang and transfer to a wire rack or serving basket. Serve warm or at room temperature within a few hours for the best texture.
Tips
Cupping and rolling each piece of dough on an unfloured counter (step 7) creates friction that tightens the ball into a smooth, taut surface - too much flour here will keep the rolls from shaping properly.
Placing the rolls close together in the pan (step 8) is intentional; as they bake they merge into soft, pull-apart sides instead of forming a hard crust all the way around each one.
 ImpRecipe