Method
- Preheat your oven to 425 F and line a baking sheet with parchment paper. Getting the oven fully preheated before you start mixing matters, since baking soda begins reacting the moment it hits the wet buttermilk and the bread should go into a hot oven promptly.
- In a very large mixing bowl, whisk together the 4 cups flour, 3 tbsp sugar, 1 tsp baking soda, and 1 1/2 tsp salt until evenly combined, breaking up any lumps of baking soda so it distributes evenly through the flour.
- Add the 4 tbsp cold, cubed butter to the flour mixture. Using your fingertips or a pastry cutter, rub or cut the butter into the flour until the mixture looks like coarse crumbs with pieces no bigger than a small pea - this keeps the crumb tender, so work quickly before the butter softens too much from your hands' warmth.
- In a separate small bowl or liquid measuring cup, whisk together the 1 3/4 cups cold buttermilk and 1 egg until smooth.
- Stir the currants or raisins into the flour mixture so they're evenly distributed and coated in flour, which helps prevent them from all sinking to the bottom of the loaf.
- Pour the buttermilk mixture into the flour mixture all at once. Stir gently with a wooden spoon or rubber spatula just until a shaggy, sticky dough forms and no dry flour streaks remain - stop as soon as it comes together, since overmixing develops gluten and makes soda bread tough and dense instead of tender.
- Turn the dough out onto a well-floured surface. With floured hands, gently pat and fold it just 3 or 4 times into a rough ball - do not knead it like yeast bread, this dough should stay soft, slightly rough, and a little sticky.
- Shape the dough into a round loaf about 8 inches across and 2 inches tall, and place it on the prepared baking sheet.
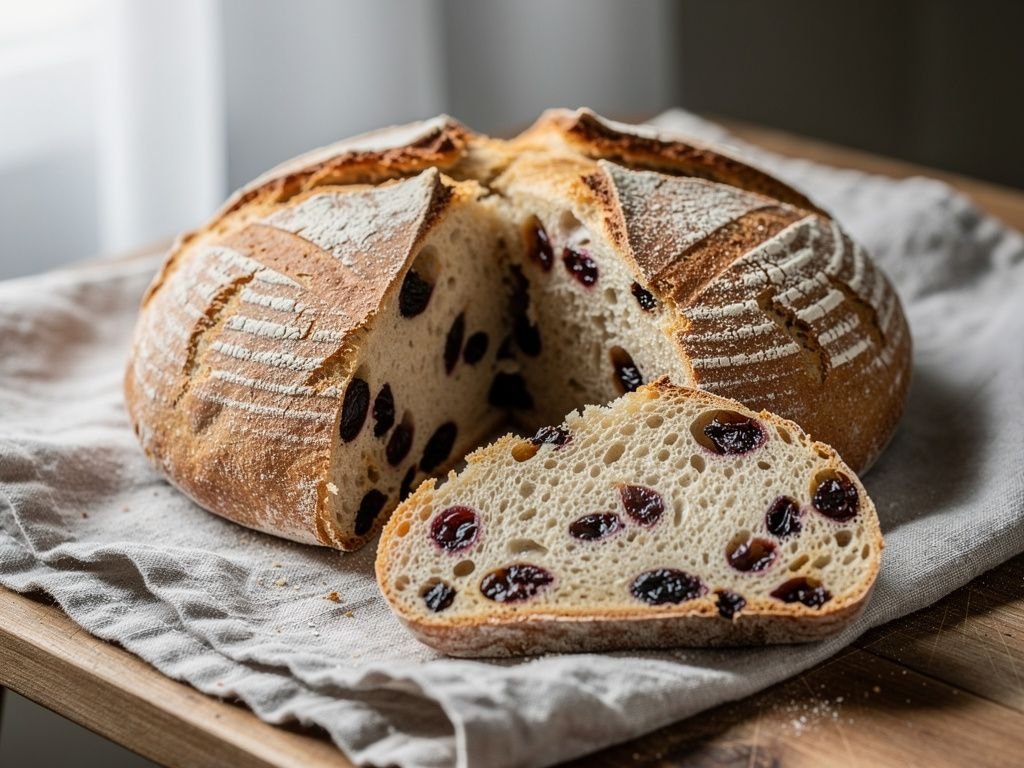
- Using a sharp knife, cut a deep X (about 1/2 inch deep) across the top of the loaf, extending almost to the edges. This traditional cut lets heat penetrate the thick center so it bakes through evenly and helps the loaf expand without cracking randomly.
- Bake for 40 to 45 minutes, rotating the pan halfway through, until the crust is deep golden brown and a skewer or toothpick inserted into the thickest part near the center comes out clean with no wet batter clinging to it.
- For an extra doneness check, tap the bottom of the loaf with a knuckle - a hollow sound means it's fully baked, while a dull thud means it needs another 5 minutes in the oven.
- If desired, brush the hot loaf with the 1 tbsp melted butter for a softer, glossy crust. Transfer to a wire rack and let cool for at least 30 minutes before slicing into wedges, since the crumb is still firming up as it cools.
Tips
Stopping the mixing the moment the dough comes together in step 6 is the single biggest factor in tender soda bread - overworking it activates gluten this recipe isn't designed to develop, leading to a tough, rubbery loaf.
Keeping the butter and buttermilk cold until the last moment (steps 3 and 4) helps create the same flaky, tender texture you'd want in a good biscuit.
 ImpRecipe